Last Updated: March 31 2026
How to Configure Branding in Delight
Overview
Adjust the look and feel of customer communications by updating branding. By default branding is copied from your website, to ensure marketing consistency.
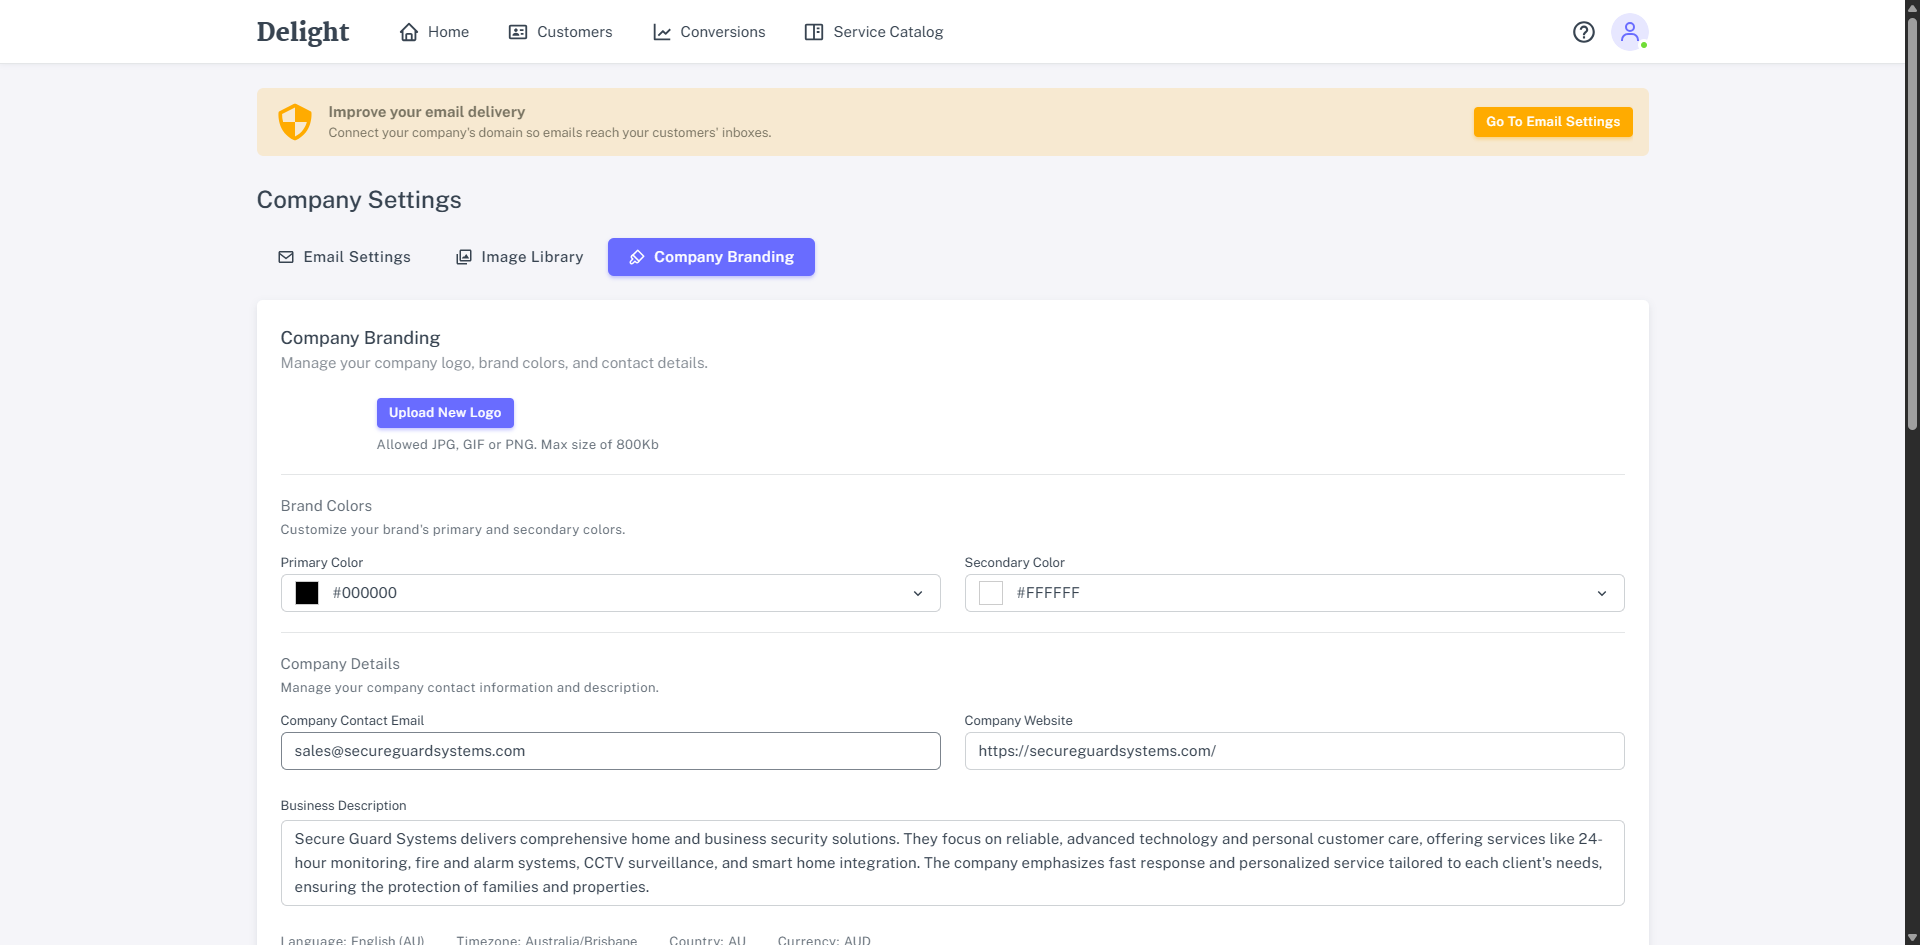
To access the Company Branding, click the Profile ![]() icon > Company Settings > Company Branding.
icon > Company Settings > Company Branding.
 Update Company Branding
When Delight is first set up, to save you time having to manually set your branding, Delight’s AI connects with your company website and uses its branding and image library by default.
If your branding changes or you’d like to edit the default set by Delight and your website, you can modify it as required using the following options:
- Click Upload New Logo, select an image and click Open to replace your company logo.
- Images must be JPG, GIF, and PNG, and the file must be under 800KB.
- Please note that updating the logo will not automatically update your Email Header Template, that must be done separately.
- Click Primary or Secondary Colour to set your company’s branding colours.
- Enter a Company Contact Email to set a reply-to email address for any outgoing emails delivered by Delight. This inbox is used for return emails from your customers, regardless of where emails appear to be sent from based on Company Setting > Send Emails From. Ensure to use the email address of an inbox that is monitored by your team.
- Enter your Company Website to ensure the relevant URL is provided in generated emails. Updating your website here doesn't impact your Company Branding overall, nor does it trigger new images to be copied from your website into your Image Library.
- Update your Business Description. By default this is generated from the information Delight can read from your website during onboarding and provides context when generating email campaigns.
- Review the Language that is used for the content of any emails that are created by Delight. The Language is transferred from your System Setup in your Simpro Premium build. Updating the language in Simpro Premium will be reflected in emails created after the language is changed, but not previously created or scheduled emails.
- Review the Timezone to determine scheduling for outgoing customer emails. The Timezone is transferred from your System Setup in your Simpro Premium build.
- Under Email Header Template or Email Footer Template click Edit to customize the appearance of the header and footer that appears at the top and bottom of all emails sent from Delight.
- Changes made to the header and footer are reflected in emails created after the header and footer are updated, but not previously created, scheduled emails.
Call-To-Action Buttons
Update call-to-action buttons so that your customers can take action in response to an email, and easily convert an email to new work. By default, Delight creates buttons that link to pages on your website or phone numbers where customers can contact your company and book work.
To create a new Call-To-Action Button:
- Click Edit to update the button design.
- Enter the Button Text that will display in the body of emails sent from Delight.
- Select Website URL or Phone Number to determine whether the button links to a webpage, or opens the customer’s phone application with the number populated.
- If you select Website URL, enter the Button URL and Description.
- If you select Phone Number, enter the Phone Number and Description.
- Click Update Button.