Last Updated: March 31 2026
How to Configure Delight Company Settings
Overview
Access company settings to ensure your email frequency settings are configured correctly. Authenticate your email domain. Review your image library to ensure the appropriate visual resources have been added from your website or add more images as required. Ensure your company branding in Delight matches your website.
 Access Company Settings
Click the Profile ![]() icon > Company Settings to set up your company account details. It includes:
icon > Company Settings to set up your company account details. It includes:
- Email Settings
- Image Library
- Company Branding
Email Settings
Use Email Settings to configure domain authentication, the rate at which emails are sent to customers, the email they are sent from, and what contacts receive emails.
As a general rule, Delight will only email customers that have been dormant for six months, meaning those who have not had a new lead, quote, or job created that time.
Delight will prioritize the highest marketability score customers that are enabled, dormant, and that are eligible to be sent to as determined by the Email Frequency setting.
When Email Settings are enabled, Delight generates email each day and schedules them for 2 business days in the future. Delight does not send emails on weekends.
Note that Delight will not send duplicates of the same email if the same email address is used for multiple contacts. Delight will not send emails to contacts that use your company email address.
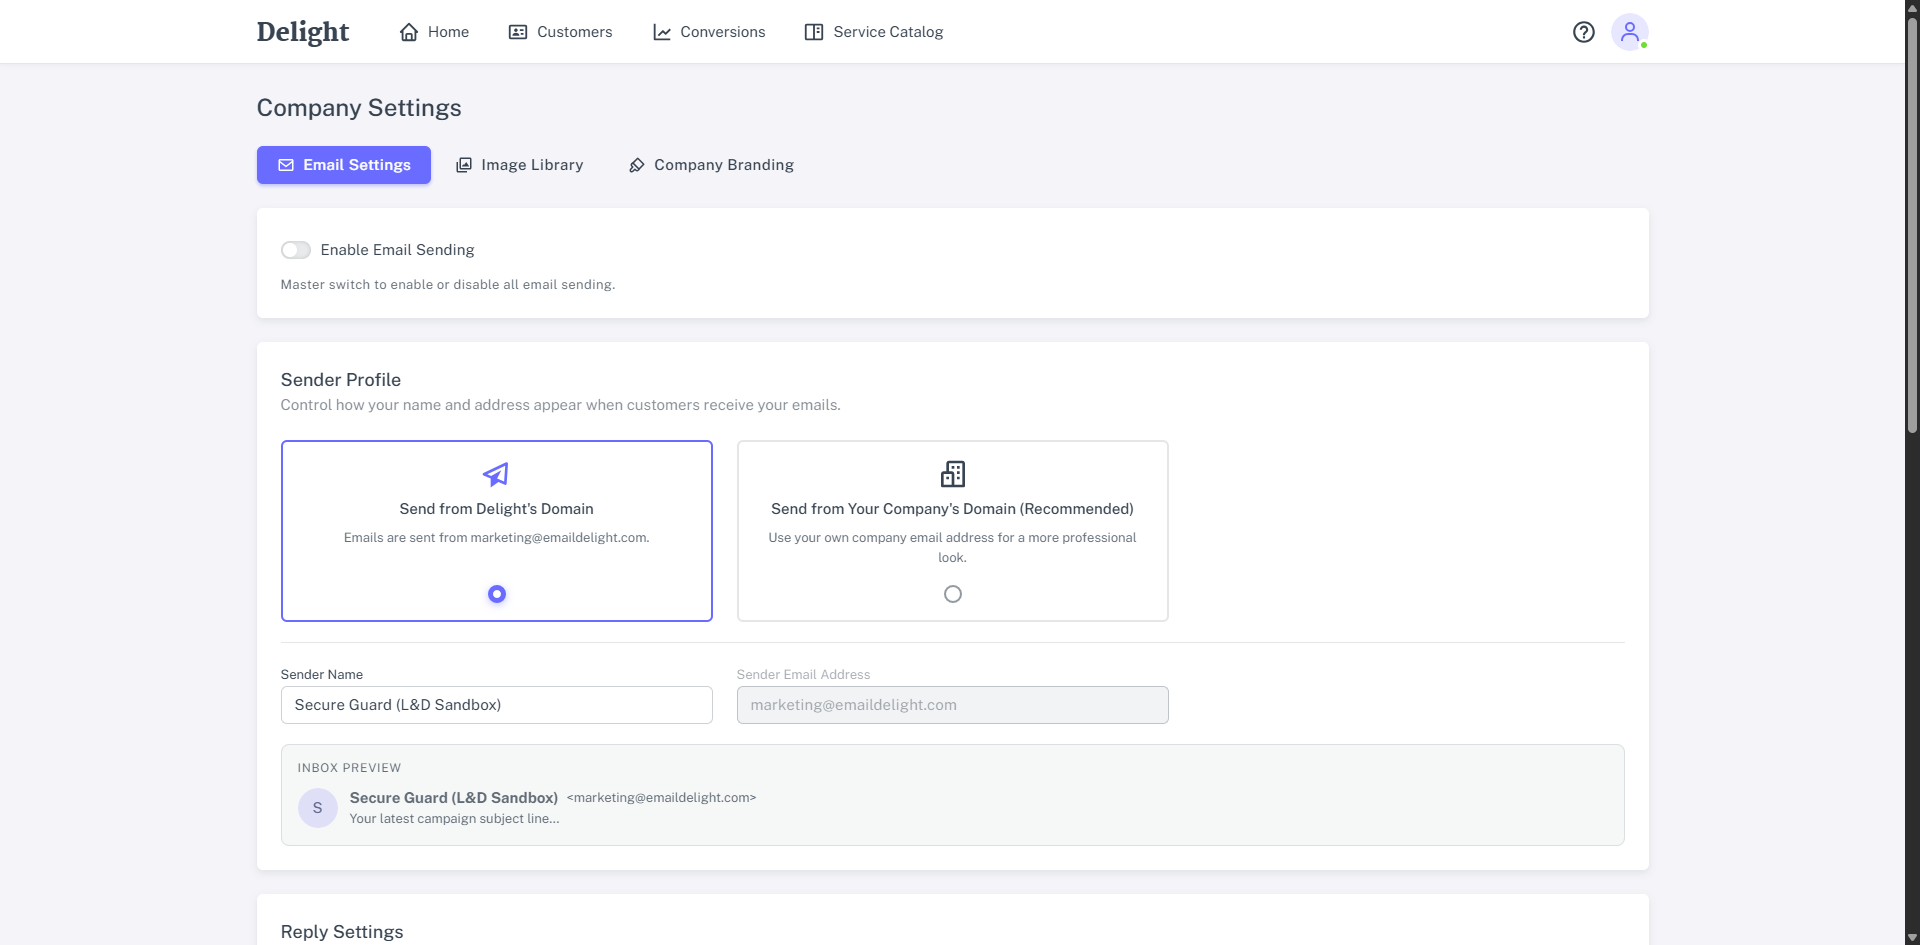
Click the Profile icon > Company Settings > Email Settings to update the following options:
- Enable Email Sending: Allows you to enable or disable all email sending. Keep this disabled until your Delight account is configured.
- Sender Profile: Control how your name and address appear when customers receive your emails.
- Select Send from Delight’s Domain to send email from marketing@emaildelight.com or select Send from your Company’s Domain to use your own company email address for a more professional look. If sending from your company’s domain, enter your email Domain, click Set up Domain and follow the prompts to ensure your DNS is authenticated with Entri. Your Sender Email Address displays to your customer when they receive an email from Delight. It updates automatically when your domain is verified.
- The email listed here can be different to your return email address. The Send Emails From address may be a generic, unmonitored marketing address, while the return email address could be a monitored inbox. To set a return address go to Company Settings > Company Branding and set a Company Contact Email. Learn more in How to Configure Branding in Delight.
- Select Send from Delight’s Domain to send email from marketing@emaildelight.com or select Send from your Company’s Domain to use your own company email address for a more professional look. If sending from your company’s domain, enter your email Domain, click Set up Domain and follow the prompts to ensure your DNS is authenticated with Entri. Your Sender Email Address displays to your customer when they receive an email from Delight. It updates automatically when your domain is verified.
- Enter a Sender Name to determine the name that appears on emails sent from Delight.
- Reply-To Email: Enter the email address that replies to emails sent from Delight are directed to.
- Reply-To Name: Enter the name of the team or individual that replies are addressed to.
- Email Recipients: Select who to send emails to. Each contact will receive the same email content each time Delight sends. You can exclude specific customers on your individual customer records in Delight. Learn more in How to Manage Customers in Delight.
- Send email to Primary Contact Only for each customer, or if the Primary Contact has their Marketing Status disabled, so they’re not contacted, the email is sent to the oldest contact record on the customer.
- Send email to All Customer Contacts including contacts on associated customer sites. Select to Include all site contacts as required.
- Email Frequency: Choose how often your want customers to receive emails
- Low Frequency - Your customer will receive the email once every two months.
- AI - Optimised - Delights AI will determine the best times to send emails to customers depending on engagement. Your customer should receive emails approximately once a month.
- High Frequency - Your customer will receive the email every two weeks.
- Set a Daily Limit Override (Optional): Specify a maximum number of emails to generate for each sending day. This option is typically used when first launching Delight, so that each email can be reviewed as the system is being configured. It is not recommended that this field be used as a long-term option, as it will lead to low marketability customers not receiving emails due to the algorithm used to prioritise which customers to generate emails for each day.
Image Library
Use the Image Library to add, edit, and delete the images that Delight will use when generating emails.
Prior to logging in for the first time, the Image Library will be populated with images from the provided Company Website.
To access the Image Library, go to the Profile icon > Company Settings > Image Library.
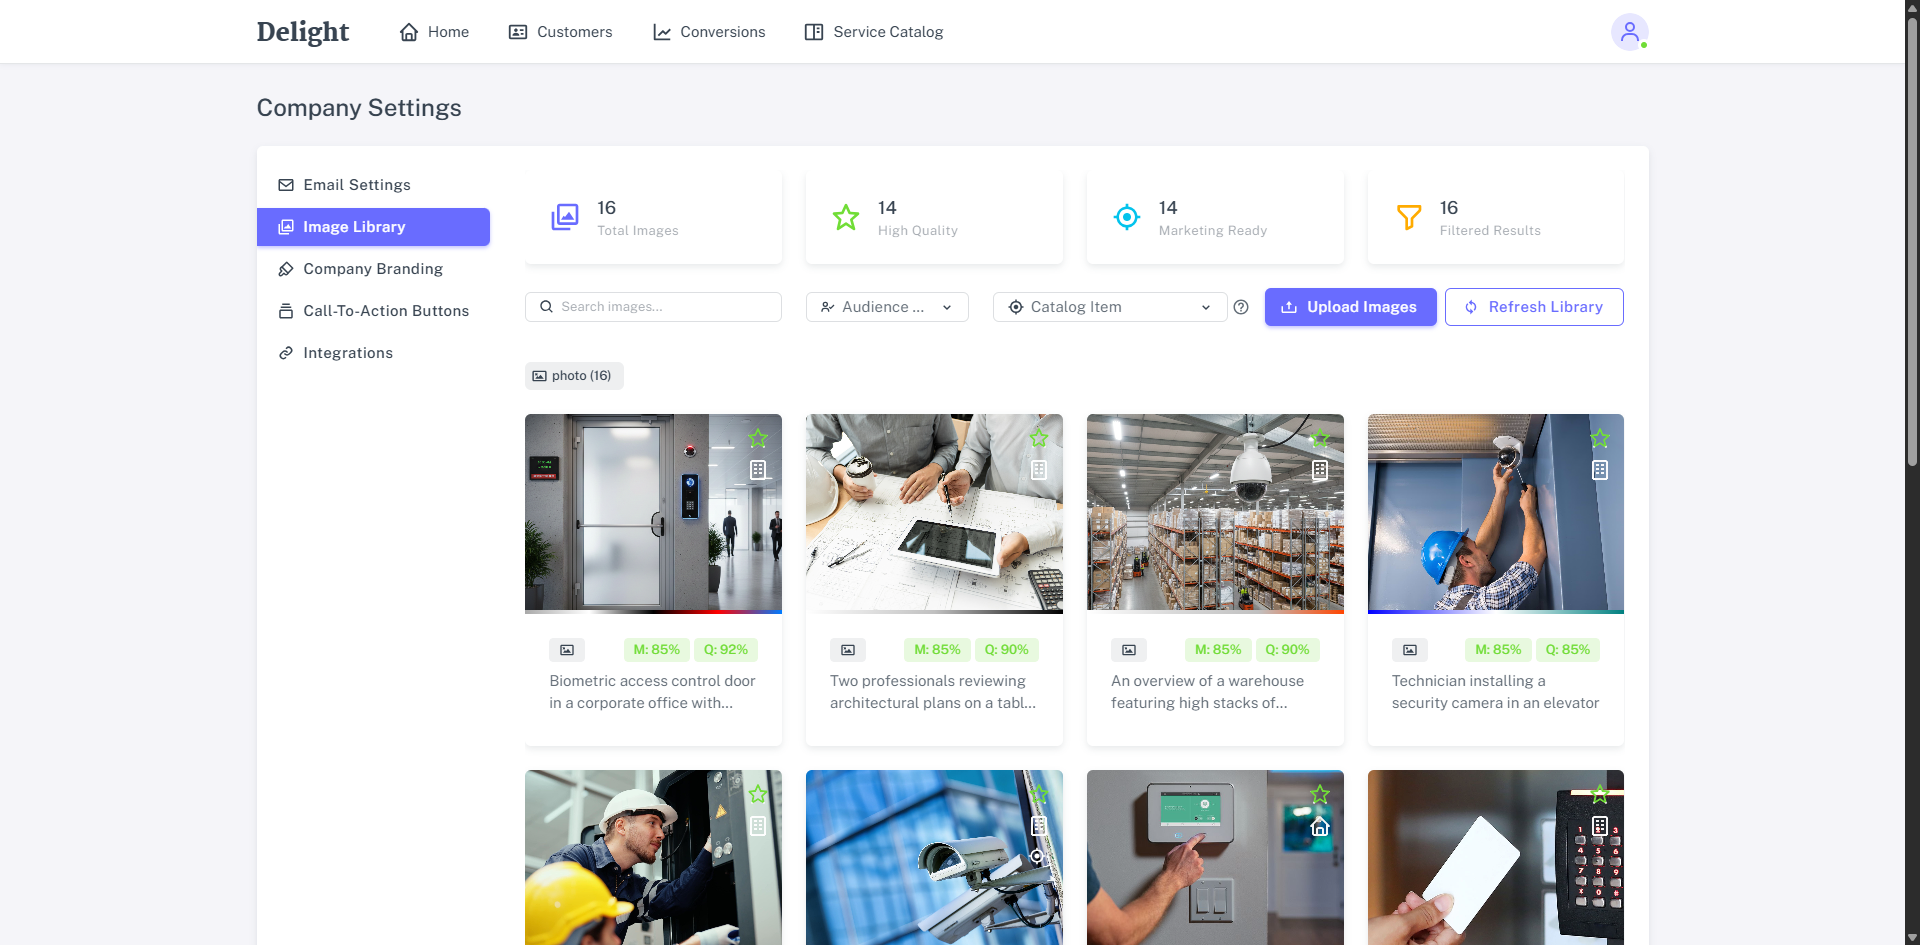
The Total Images, High Quality, Marketing Ready provides a summary of your quantity of images based on the processing of Delight’s AI. Filtered Results indicate the number of images currently displayed based on the image Type such as Photo or Drawing. These filters are also generated using Delight’s AI. Click on these filters to view specific types of images.
Search for images based on their description, which is generated automatically for images extracted from your website. Filter images by Customer Group or the associated Catalogue Item. Universal shows generic images available for all campaigns.
Upload Images
In addition to the images that are initially extracted from your website, images can be manually uploaded in Delight. To upload an image:
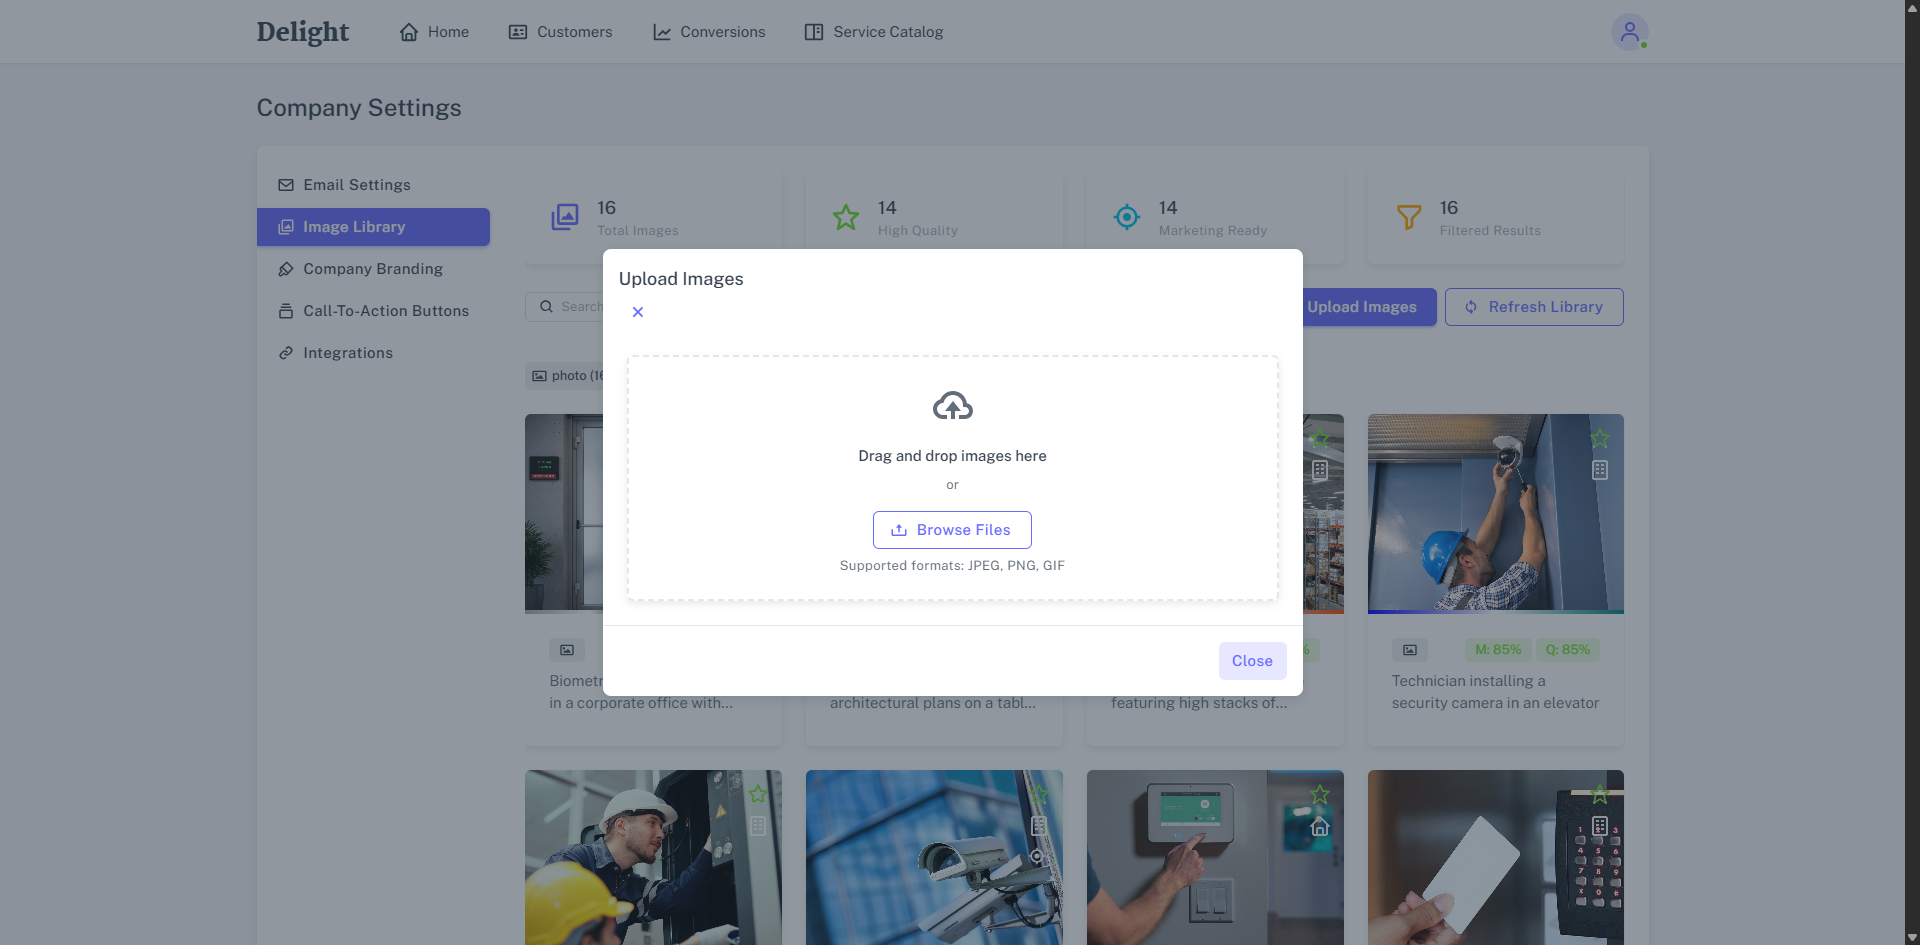
- Click Upload Images.
- Drag and drop images or click Browse Files to locate and upload images. Delight supports JPEG, PNG, and GIF images only.
- Images may take up to a minute to be available in the Image Library, click Refresh Library to show the full list of available images.
Update Images
As images are added to Delight it’s AI reviews the images, records the various attributes, and generates a Description, Alternative Text and determines which catalogue items to use it with.
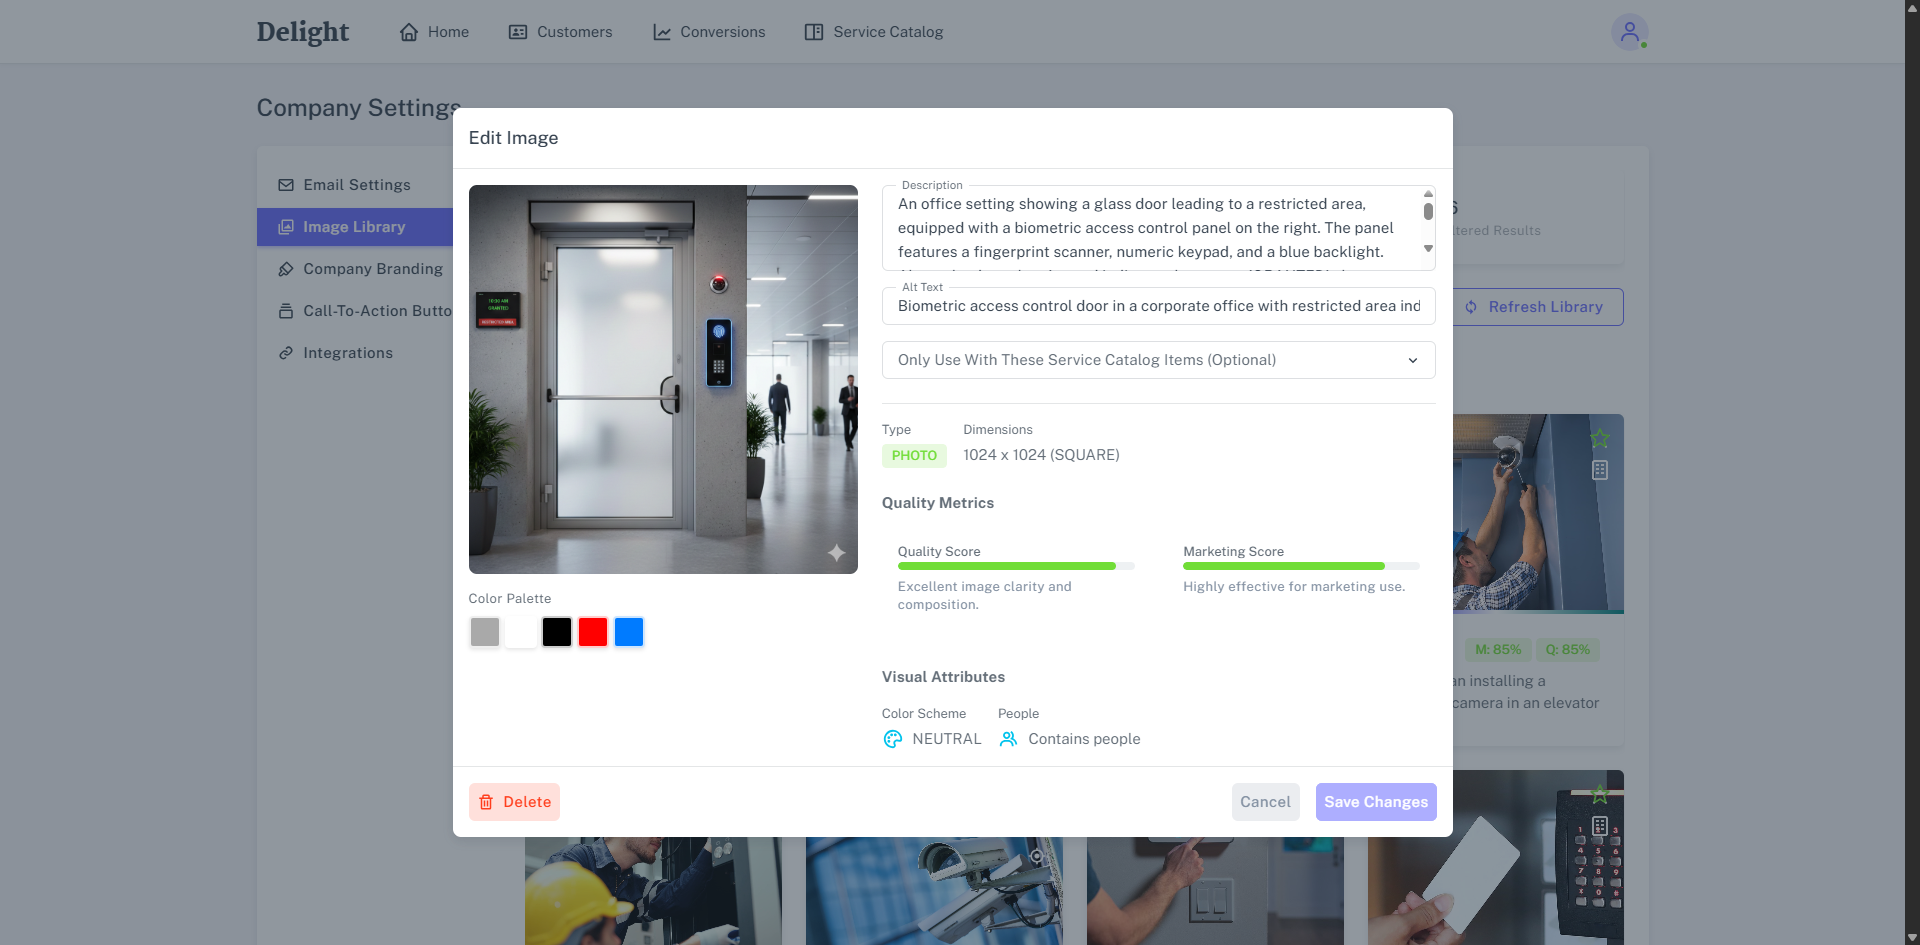
To manage an image and update these details:
- Click on an image.
- Edit the Description to provide clarity and further instruction to the system for when the image should be used. Description content is not used in body text of emails generated by Delight.
- The Alt Text field is used by the system to provide a plaintext description of the content of the image when generating emails. This feature is used by screen readers to provide context on the content of the image.
- Click the Only Use With These Service Catalogue Items and select specific services to limit this image from being used in emails that only apply to this service type.
- Delight provides an overview of the image including Colour Palette, Type, Dimensions, Quality Metrics and Visual Attributes which all help ensure its use in appropriate email marketing.
- Click Delete to remove an image from Delight.
- Click Save Changes to update the image.
Company branding
Adjust the look and feel of customer communications by updating the branding of your company. Learn more in How to Configure Branding in Delight.
Integrations
To integrate Delight with Simpro Premium and start generating emails Delight must be created as an API application in your Simpro Premium build. This will generate an API key Access Token that you can add to Delight to verify the integration.
Learn more in How to Sign Up and Access Delight.