Last Updated: December 15 2025
Okta
Overview
Okta is an identity and access management platform. When integrated with Simpro, Okta streamlines your login process and helps your employees to be secure when accessing your data.
To follow the full integration process, learn more in How to Set Up Single Sign-On.
To find solutions for troubleshooting, learn more in Single Sign-On Troubleshooting.
If you use Microsoft Entra ID instead, learn more in Microsoft Entra ID SSO.
 Integrate Okta with Simpro Premium
To set up single sign-on with Okta:
- From your Okta admin centre, go to Applications > Create App Integration.
- To create the application:
- For Sign-in method, select OIDC - OpenID Connect
- For the Application type, select Web Application
- Click Next.
- Once on the New Web App Integration screen, select / provide below fields on Okta
- App integration name: Your preferred name
- Grant type
- Select Client credentials for Client acting on behalf of itself
- For Core grants, select both Authorization code and Refresh token
- Paste the Callback URI copied from Simpro into Sign-in redirect URIs
- For assignments, you can either assign the users/groups now or later after creation
- Click Save.
- To assign users/groups to the application, go to Application > Assignments > Assign
- Once the application has been created, create on authorization on Okta to be able to support Simpro Premium:
- Simpro Premium requires a new authorization server to be created for SSO integration. Go to Security > API > Authorization Servers > Add Authorization Server.
- Enter the following:
- Name: Your preferred name
- Audience: copy your Simpro Premium URL
- Click Save.
- Create a new scope in the Authorization server. Go to Authorization server > Scopes > Add Scope and enter:
- Name: simpro (all lowercase)
- Display name: As per your preference
- Description: Optional
- Default Scope: Check this option if applicable
- Metadata: Select Include in public metadata
- Create a new access policy in the authorization server. Go to Authorization server > Access Policies > Add Policy and enter:
- Name: offline_access
- Description: offline_access
- Assign to: Per your preference
- Create a new rule to the access policy. Go to Access policies > Access policy (offline_access) > Add rule and enter:
- Rule name: offline_access
- Grant type: Select Client credentials, Core grants (Authorization code AND Device Authorization)
- User: Per your preference
- Scope requested: Select ‘Any scopes’
- Access token lifetime: per your preference
- Refresh token lifetime: Per your preference
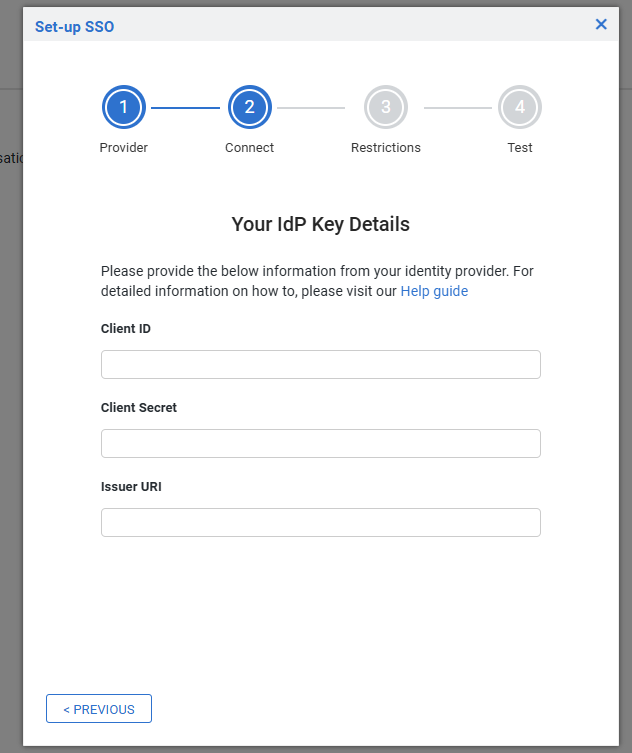
- Add Okta IdP details on Simpro Premium to create integration:
- Copy the client ID from General > Client credentials > Client ID
- Copy the Client secret from General > Client secrets.
- Copy the Issuer URI created in step 7 from Okta Security > API > Authorization servers.